July 23, 2015

HG 1/144 Dahack OOB & mini review

Built this last week. Start liking the design because of the model kit.

OOB without any sticker.
You can see the colour separation for this kit is excellent. 

Back

The detail is well above average for a HG kit.
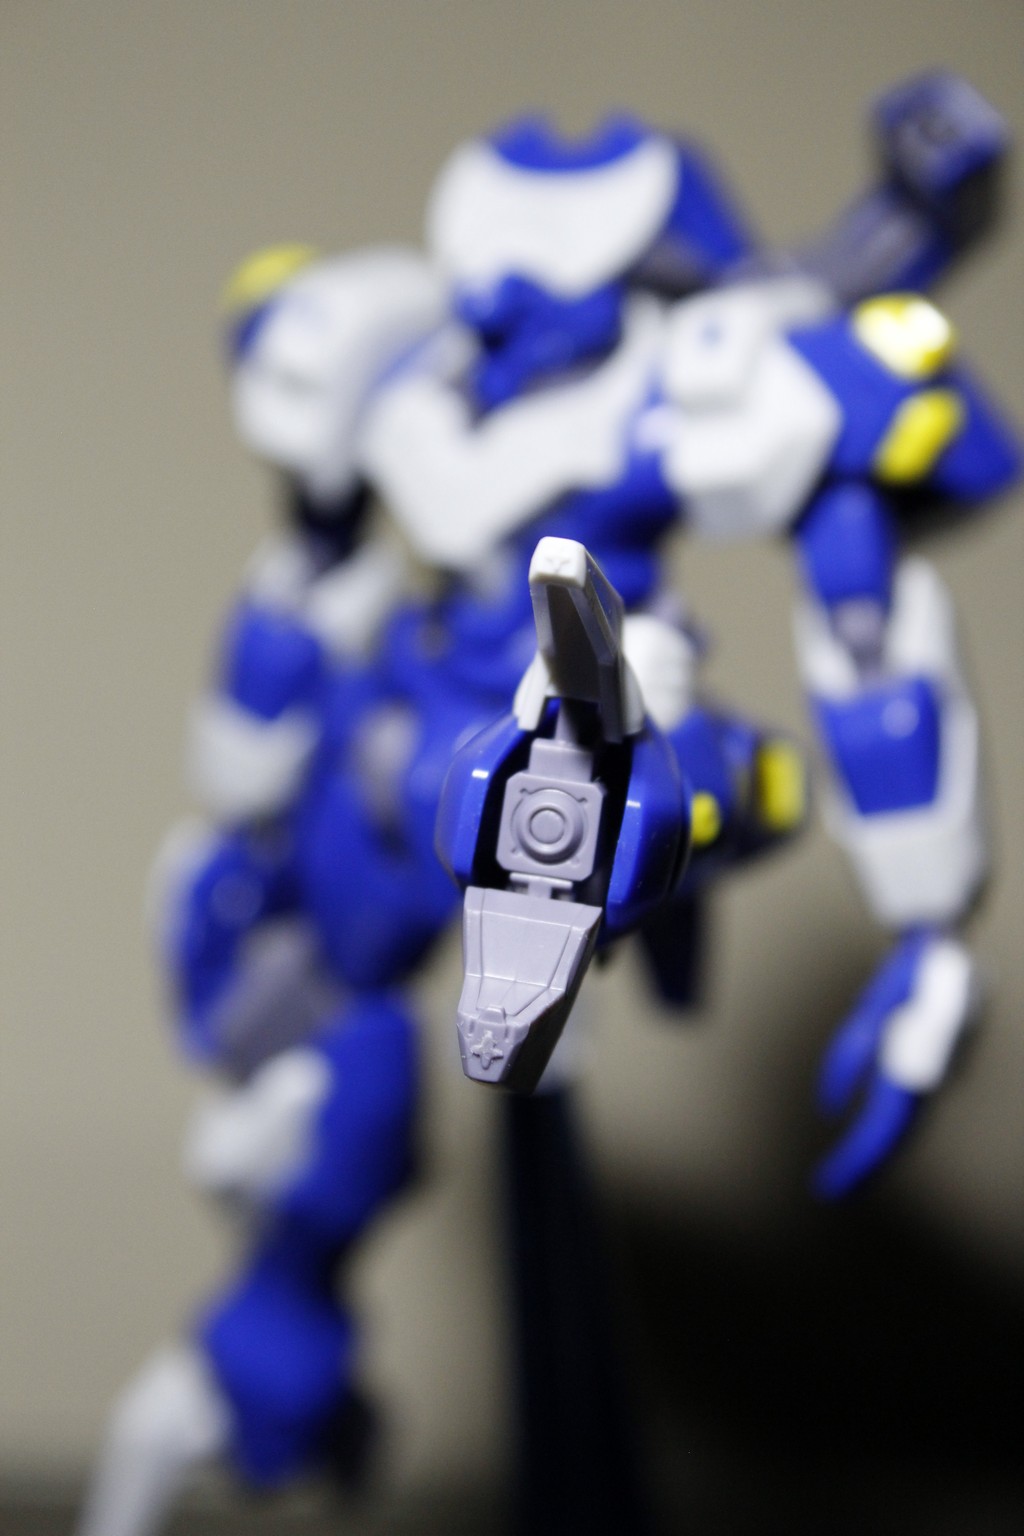
Notice all that small details on the grey piece.

 
Foot


Same height as HGUC Gundam but Dahack seems smaller due to tiny joints and heels.

The face piece is tiny as well.
Though two square details beneath the eyes are fuzzy and almost unrecognizable, which is common for Bandai kits to miss some fine details here and there. 


When I saw the online OOB pictures, I thought the yellow parts all had rounded and undefined shape.
Turned out the yellow vents under the chest are relatively sharp. 
Almost like scratch-built ones.

With stickers and some paints.

One major flaw for this kit is that the arm has less than 45 degree side way movement.


New beam saber effect part from SB-15 runner, can only be found in some G-Reco kits. 
Comparison with SB-6 beam (pink one), the most common beam saber in HGUC kits.  
 
Love how the beam shield is generated from hand.

Dahack somehow reminds me of the Gadessa family in Gundam 00.


If only Bandai would release Dharma, the outer shell of Dahack.

Overall, Dahack is a very high quality HG kit well worth the price (1800 yen). 
Strongly recommend picking this up if you are a fan of the series or anyone who likes interesting design with nice details and won't be bothered by the limited articulations.

June 29, 2015

HGUC 1/144 RGM-79C GM Type C

Woot!
Finished my first model of 2015.
Now I have achieved my target of finishing at least one model a year! 


Will try to get a light box or better booth setup before finishing another model.
Most of the pics I took are barely usable.


After at least an hour of shooting, deleting and uploading pictures, I decided to take more pictures under the nature light.
It was a cloudy and raining day but the pics still turned out ok.
Can't beat the nature light!


You can see some chipped paint and scratch marks here and there from first round of photo taking.
Wish I paid more attention and handled it with more care :(


-------------------------
These following photos were taking after following some advice from a broad member on TFW2005.
Manual focus and automatic depth of field really make a huge difference.
Now I can get some half-decent photos even with my crappy setup.


-------------------------

The visor has been coated with the Future floor wax.


Laser foil tape for the sensor on weapon.
A thin layer of semi-gloss coat helps toning down the colour and making the sticker less out of place.

Comparison with the OOB kit.
Fairly satisfied with how the main colour turned out.
I am tempted to use the leftover to paint a desert colour GM II. 


with HGUC Zaku F2
Aesthetic aside, GM Type C still doesn't measure up with its Zeon counterpart in term of accessories and construction.