November 24, 2015

WFC Shattered Glass Optimus Prime

Not much to say about this.
Brush-painted with Tamiya Acrylic in winter 2011. 
WFC deluxe prime is one of my all time favorite TF toys.
Shame we don't see more official products from WFC/FOC designs.


November 15, 2015

HG 1/144 Space Jahannam OOB mini review

Only bought Space Jahannam because it was heavily discounted at HLJ.
I kind of despised this kit because this unremarkable grunt suit made it to the kit while my favorite MS design Hecate from G-Reco didn't.

Moreover, the proportions for this kit are terrible compared to the original design.
It's not uncommon for Bandai to screw up model's proportion but it's very hard to ignore in this case.

Not to mention the same cheap move found in many of the recent HG kits just to save the cost of molding one trigger hand....


My expectation for this kit was extremely low to begin with so I was able to enjoy this kit and focus on its good quality.   

The kit is decent from both front and back views.
Unassuming MS design with simple armament.
The shield looks solid with good thickness and it's on a ball joint which is rare for today's HGs. 
One thing I like about this kit is that it uses more realistic looking joints instead of the functional but ugly double joints like the ones in HG Build Burning Gundam. 

Accessories:
Two sets of hands, beam axe in closed and extended forms, rifle and shield.


The articulation is below average, only 90 degree for both arm and knee due to the joint design choice mentioned earlier.

It's a little bland without detailing. Need to paint most of the thruster white.
The head sculpt is nice though.

Despite the limited articulation, it's actually fun to fiddle with this kit.
Just wish the shoulder was better designed so it could raise more than 60 degree.

For a kit with below average articulations and slightly above average details,
HG Space Jahannam is really only for the fan of the design or the series.


October 25, 2015

HGUC Hyaku Shiki WIP pt 5

With a lot more sanding and smoothing the surface, the Hyaku Shiki should be ready for painting.
Unfortunately, I won't be able to paint anything until next year due to the weather here.


and some old WIP pictures

Sep 2014

Aug 2015


October 24, 2015

HGUC Hyaku Shiki WIP pt 4

Pretty sure I won't finish Hyaku Shiki this year now. 


Added an easy hinge for bazooka handle.


September 5, 2015

HGUC Hyaku Shiki WIP pt 3

Shrunk the foot by cutting off the edge and sanding down the plastic. 


Changed the polycap position to get the wider hip and thus bulkier look. 

Nothing else was done to the leg even though the side thrusters lack basic details and really need rework , but we are going to get the 2.0 soon so not going to bother. 

August 30, 2015

HGUC Hyaku Shiki WIP pt 2

Bulked up and extended the arms a little since the stock arms look really puny,
Also made the new elbow joint covers to have more segmentation look.

I accidentally destroyed one of the should vent so had to remake them on both shoulders. 

August 26, 2015

HGUC Hyaku Shiki WIP pt 1

Since Bandai hasn't announced the HGUC Hyaku Shiki 2.0 yet, I don't feel the pressure to complete it like HGUC MK II.
Still, I want to finish this by the end of 2015.

Didn't have the confidence to make the head look and still follow the original design without some serious modding so I just slapped the Zeta style mask on the face.  


Neodymium magnets to attach face to the helmet.
 I had these magnets laying around for a few years now. 

July 26, 2015

HGUC RX-178 Gundam MK II (AEUG colour)

Second finished work in this year!
Started working on HGUC MK II as a side project of another side project.
Didn't expect to finish this kit first but Bandai announced HGUC MK II 2.0 this year so had to hurry up before losing interest and motivation like other WIP projects I have.   


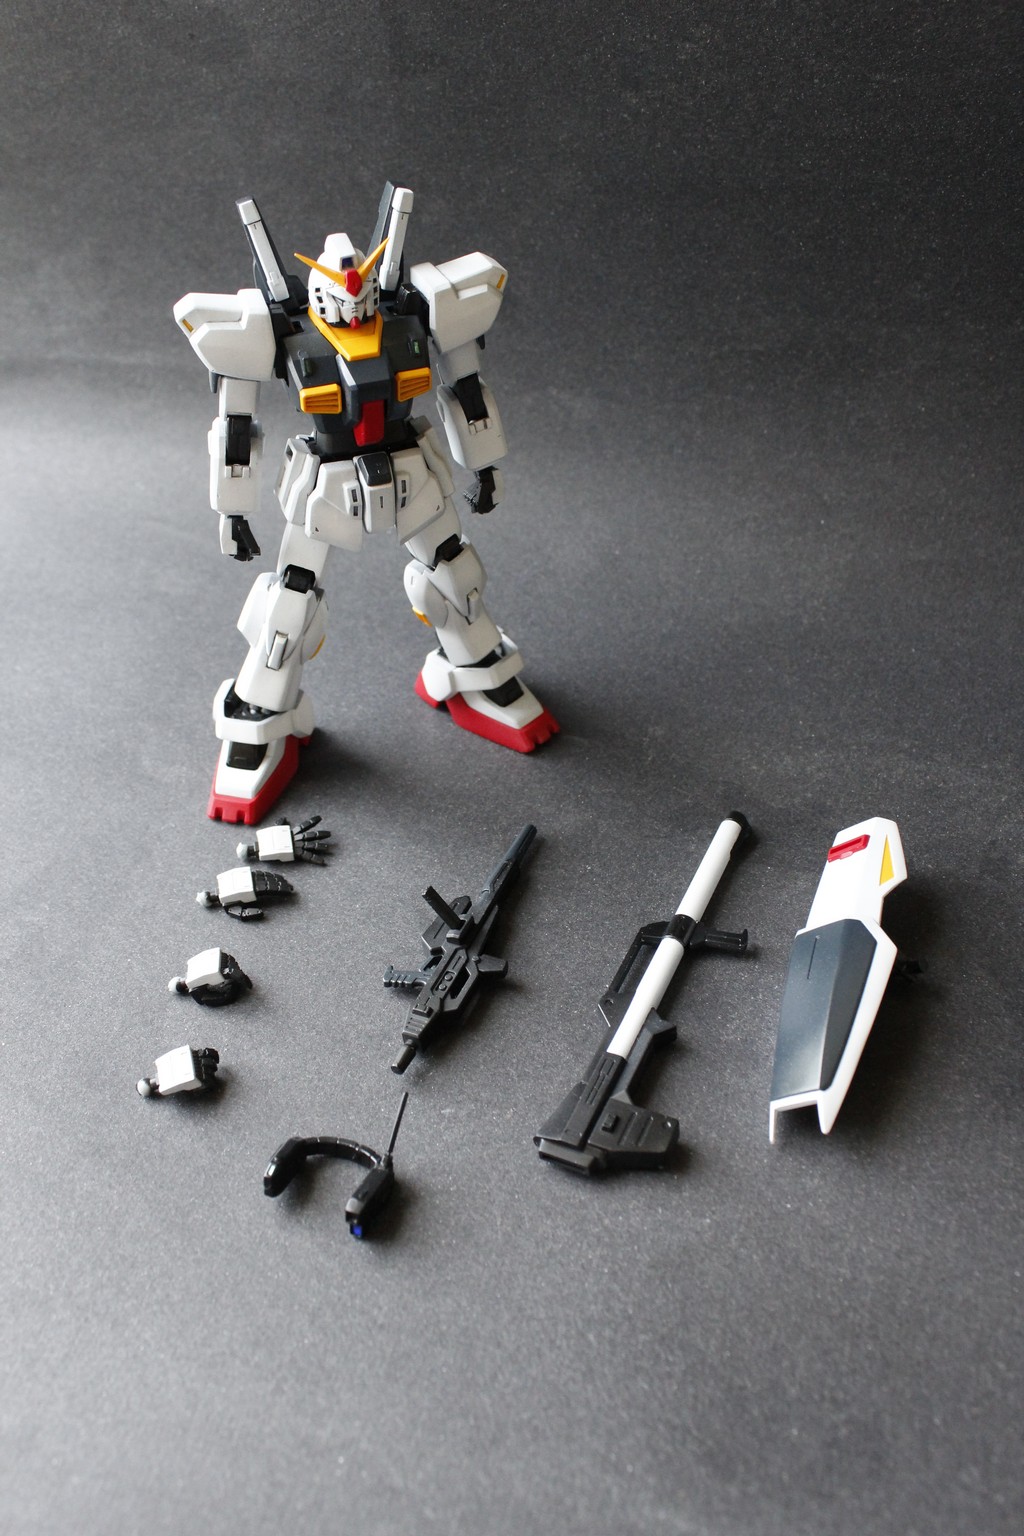
Replaced stock hands with regular size 1/144 HD Builders Parts ones from Bandai. 

Tweaked the proportion a little.
Arms still look funny and thin without weapons.


The right trigger hand has movable index finger and could hold beam saber.
I cleared as much plastic as possible inside 


 and modded the saber handle so it wouldn't have problem squeezing through the tiny space. 


yet I forgot to take thickness of the paint into consideration .....can only hold rifle and bazooka. 

 Duel wielding thanks to the left trigger hand from the builder parts.

I was a little reluctant to build and paint this bazooka because I just finished the same bazooka from GM Type C not long ago. 

   
Close-up

You will notice the chest area has very rough surface.
I screwed up the first top coat and had to re-apply several clear coats to reverse the whitening and get the semi-gloss look.


By now you probably have noticed the sloppy job on seam line at several spots on top of everything.
There were more when I sprayed the base coat but I was able to remove many of them by gently sanding the uneven areas with 1000 grit sandpaper.


Don't have any finished gunpla from Zeta era except this Rick-Dias painted long time ago.

Glad I didn't get the AEUG version as my second RG MK II. Will probably convert the RG into prototype so only 3 units of MK II remains in my collection after buying the revive one.


With GM Kai finished last month.


Feel like I learned more about how to fix screw-up than the actual painting skills from this work.
I did try some shading but can hardly tell from these pictures or in person.